Dartmoor in infrared

Why take photographs in infrared?
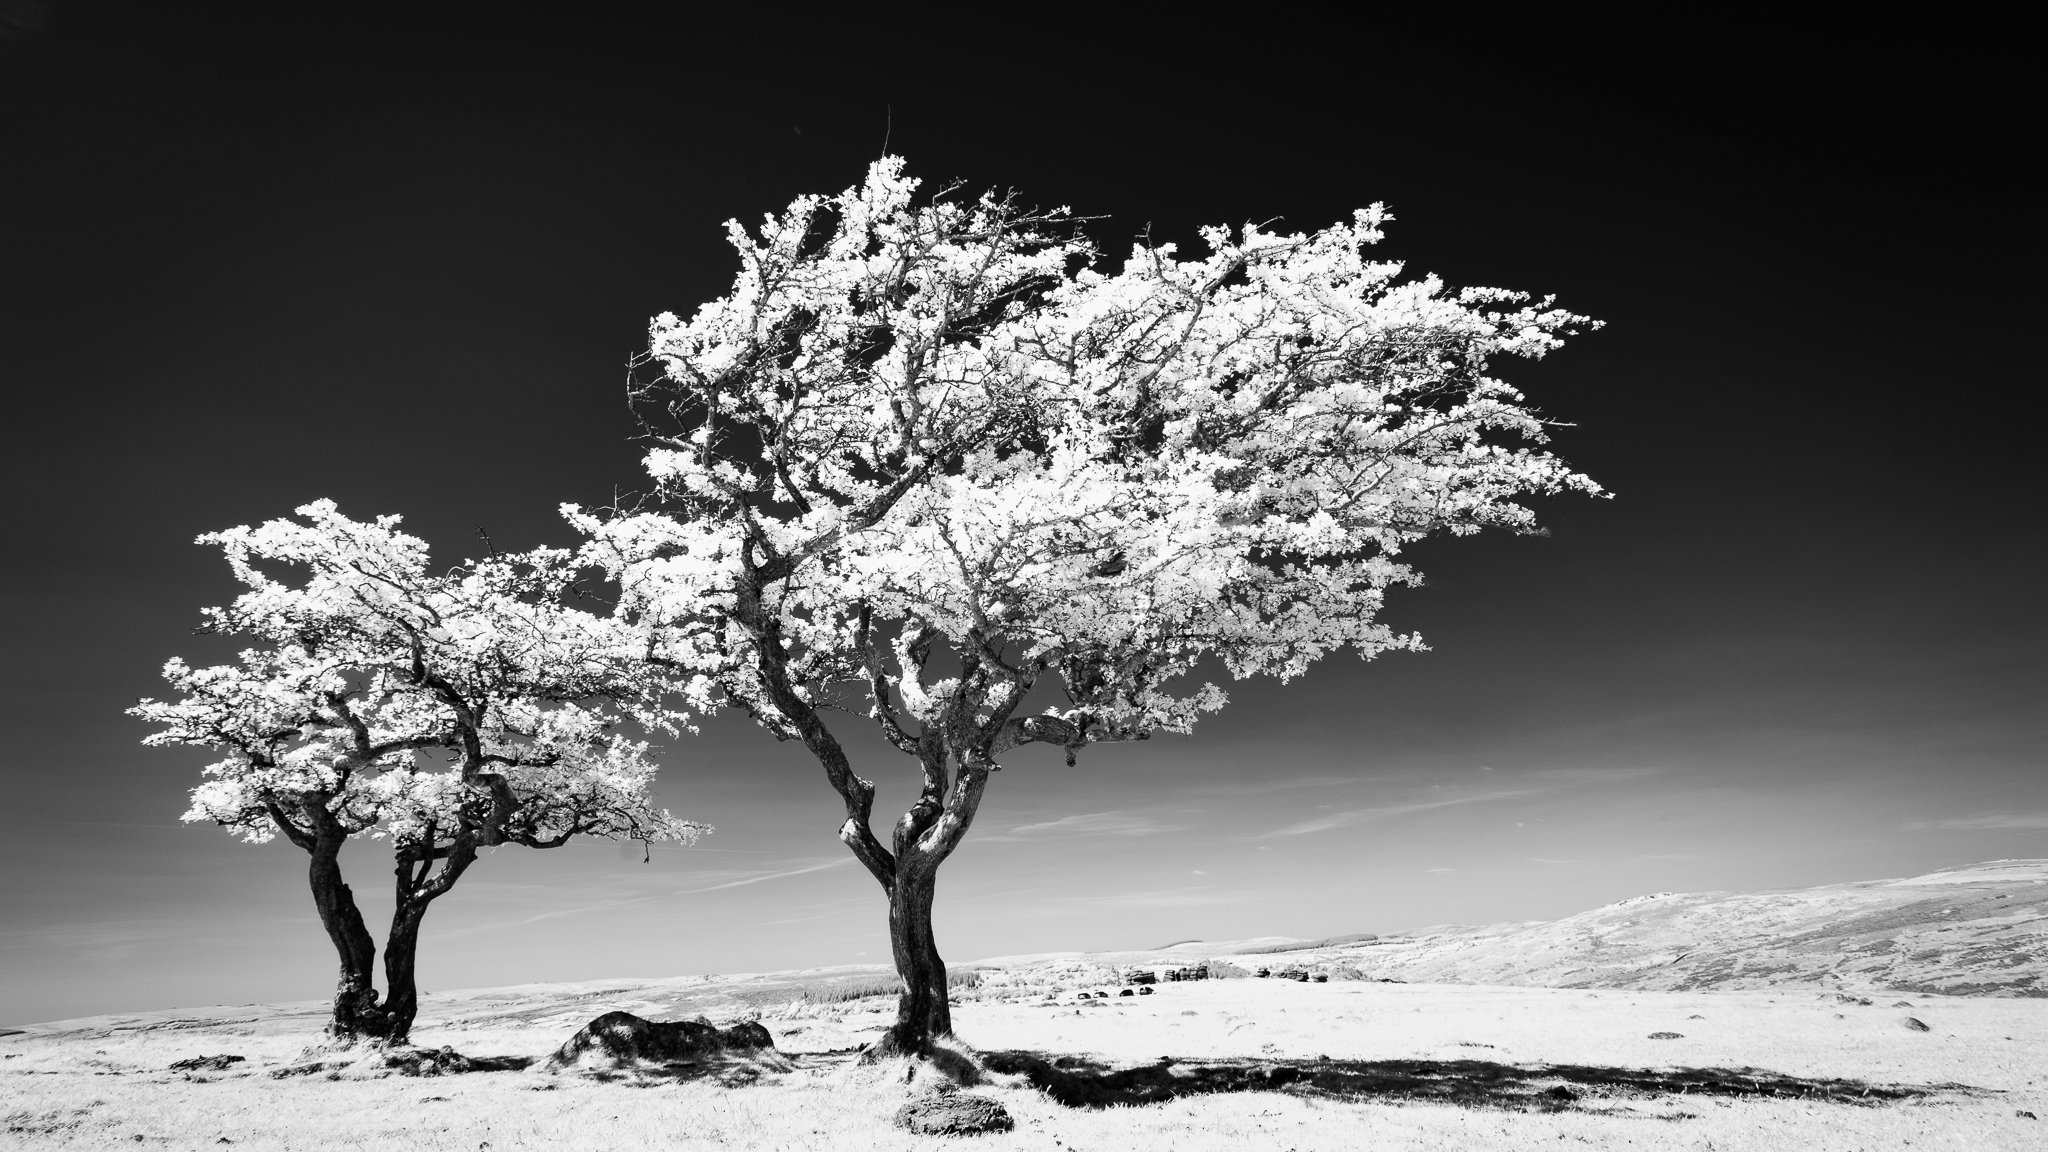
The landscape of Dartmoor National Park sits under large skies, which can vary from season to season, day to day and hour to hour. I have photographed Dartmoor on many occasions using traditional visible light, mainly rendering the final images in colour, but there was something particularlry appealing about capturing the beauty of the moor with infrared - converted to black & white - the combination of glowing vegetation, dark skies and the rugedness of tors portraying an altogether different mood.
I spent a week on the moor in the middle of May 2023; two days were on a dedicated IR photographic workshop with the ebullient Lee Frost, and the remainder on my own.
Equipment
I spent a good few months researching different approaches to enable me to capture infrared images. I quickly rejected the option of using a screw-on IR filter on my ‘normal’ camera, due to the long exposures required. Instead, I opted for a 720nm IR conversion, performed by Protech Photographic. Whilst a number of friends have had their backup/second dSLR cameras converted, I could see the benefits of having a full-frame mirrorless conversion, which provides a number of benefits:
More accurate focusing that with a dSLR
Ability to see the histogram through the viewfinder. Particularly useful as often shooting in the middle of the day when live view is difficult to use
Modern sensors have higher dynamic ranges and low noise characteristics
As a Canon shooter I looked at the options available, and plumped for an EOS R6, which I picked up at a good price when the EOS R6 Mk II was released. I have not made a move to native RF glass, as I find using my EF lenses with a converter is perfectly adequate for my needs. I travelled with EF 16-35 f/4, EF 24-70 f/4 and EF 70-200 f/4 but due to the nature of the subject matter, the vast majority were taken with the 16-35.
Starting out: optimism and fear
Coupled with the excitement and optimism in trying a new technique for the first time, I did have some real concerns and fears; primarily fed by various articles I’d viewed online. I’ll address each of these in turn.
The right wavelength of IR conversion?
When getting a camera converted to infrared, one has the choice wavelengths:
590nm - for False Colour
665nm - for False Colour & Black & White
720nm - for mainly Black & White
830nm - for Black & White
I opted for a 720nm conversion, despite looking to produce almost entirely B&W images. The rationale behind this is that by going for an 830nm filter, I would lose a couple of stops of exposure. This would mean having to rely on a tripod more, which I was keen to avoid. Furthermore, it’s easy to add contrast to images in post-processing using tools such as Curves to replicate the effect from an 830nm conversion.
Hot-spots
There are many articles online covering the dreaded ‘hot-spots’, which are bright, diffuse spots in the centre of the frame. These are essentially due to the fact that all optics are optimised for focusing visible light, and with different refraction properties, IR can cause these artefacts. It’s a bit of a minefield, so I did some reading up on my kit and on paper, it looked as though I might not suffer this effect too badly.
To find out more about hot-spots and how to fix them, see Rob Shea’s excellent tutorial.
An excellent online reference of lens performance is provided by Kolari, so if you are considering going down the IR route, I strongly recommend checking their database, which has good qualitative data. From a personal viewpoint, I’m relieved that I did not go the RF lens route, as a number of these report poor IR performance :-(
In the field, I can confirm that I did not experience any hot-spots with any of my three lenses, which is a huge relief.
Diffraction
Due to its longer wavelength, IR photographs are more susceptible to diffraction than visible light. As with hot-spots, no two lenses are the same but, essentially, it kicks in about an f-stop lower than it does with visible light. For example, if you notice image quality degradation at f/16 when shooting visible light with a particular lens, then you are likely to notice it at f/11 when shooting IR.
Again, Rob Shea has an excellent video covering this topic.
White balance
There is a lot written online about this topic, and I must admit I got my knickers in twist about this before I got started with my camera. However, I quickly determined that setting a custom white balance in my camera meant that it was pretty accurate by the time I imported into Adobe Lightroom. The custom setting was made from an image of grass in full sun. Once set, you just forget about it!
Dynamic range
I was concerned that shooting IR may require a higher dynamic range than with visible light, meaning that exposure bracketing and therefore, using a tripod may be required. I’ve not performed any tests, but I would say that there is very little difference, and if anything, IR is better at handling high contrast scenes.
With this knowledge, and having both lens image stabilisation and IBIS, I took nearly all of my photographs hand-held, down to 0.5 second exposures.
Post-processing
I’m still learning here, and like any process, it will evolve naturally over time. The majority of my images will end up being monochrome, so I have not fully explored the false colour world, with channel swapping and all that malarkey. What I have found is that you can be a lot heavier with the sliders and get away with it; particularly with contrast, clarity and dehaze.

The only time I used a tripod. Leat at Windy Cross: Canon EOS R6, EF 16-35 f/4 at 16mm, ISO 50, 1/13th at f/16

As mentioned, the vast majority of my images will be converted to black & white, but here’s a false-colour example for reference.

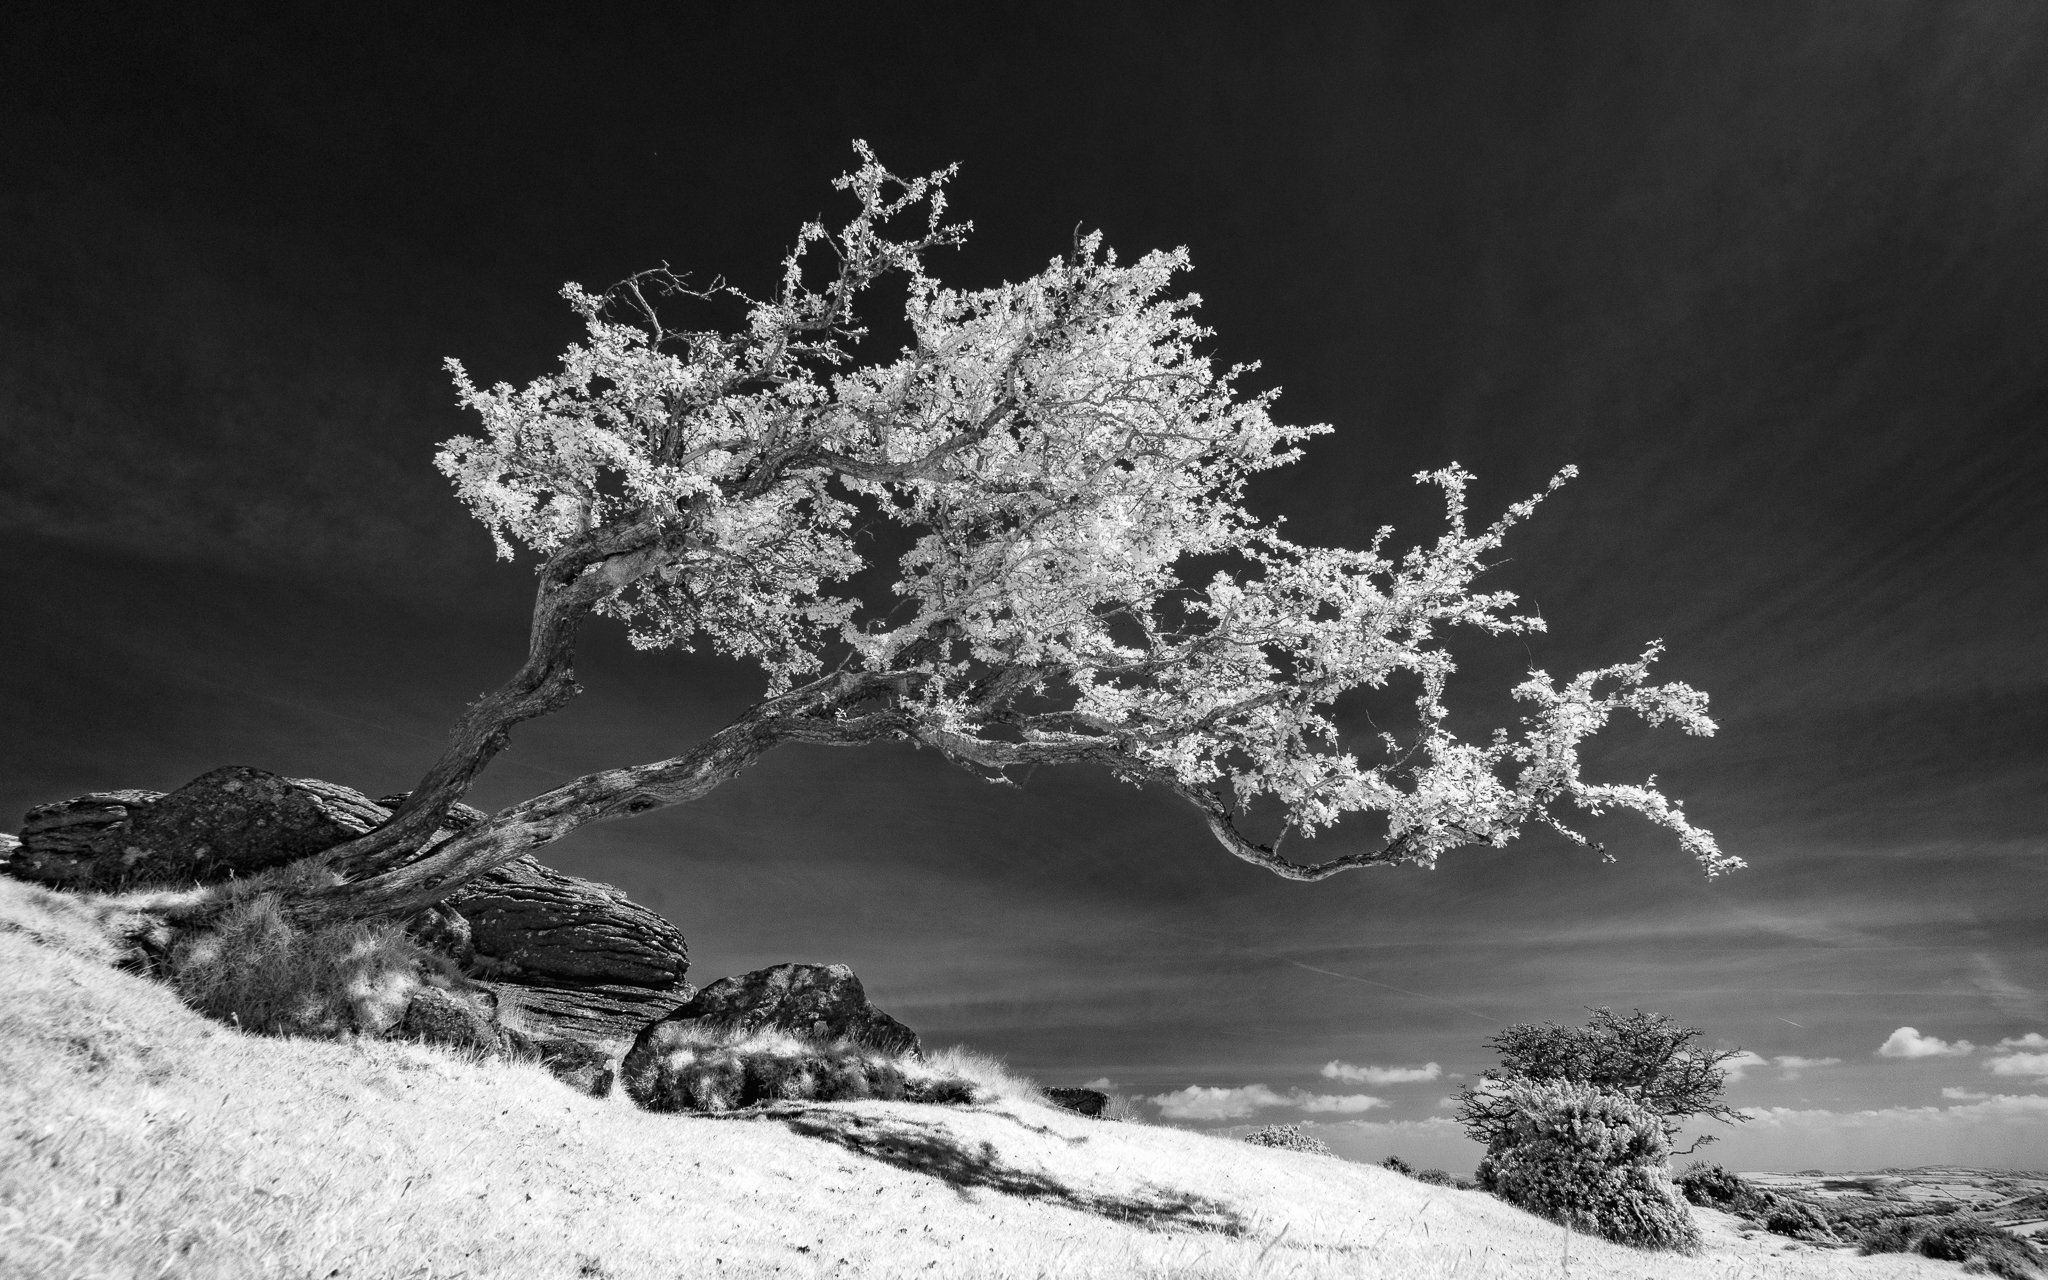
An example of a virtually black sky. Image processed in Adobe Lightroom and Photoshop from my 720nm converted camera. The foliage of the tree contrasts with it superbly.
Photographs
Enough of my ramblings - here are some photos!

Bridge near Widecombe. 18mm, hand-held, 0.5 sec at f/13, ISO 50

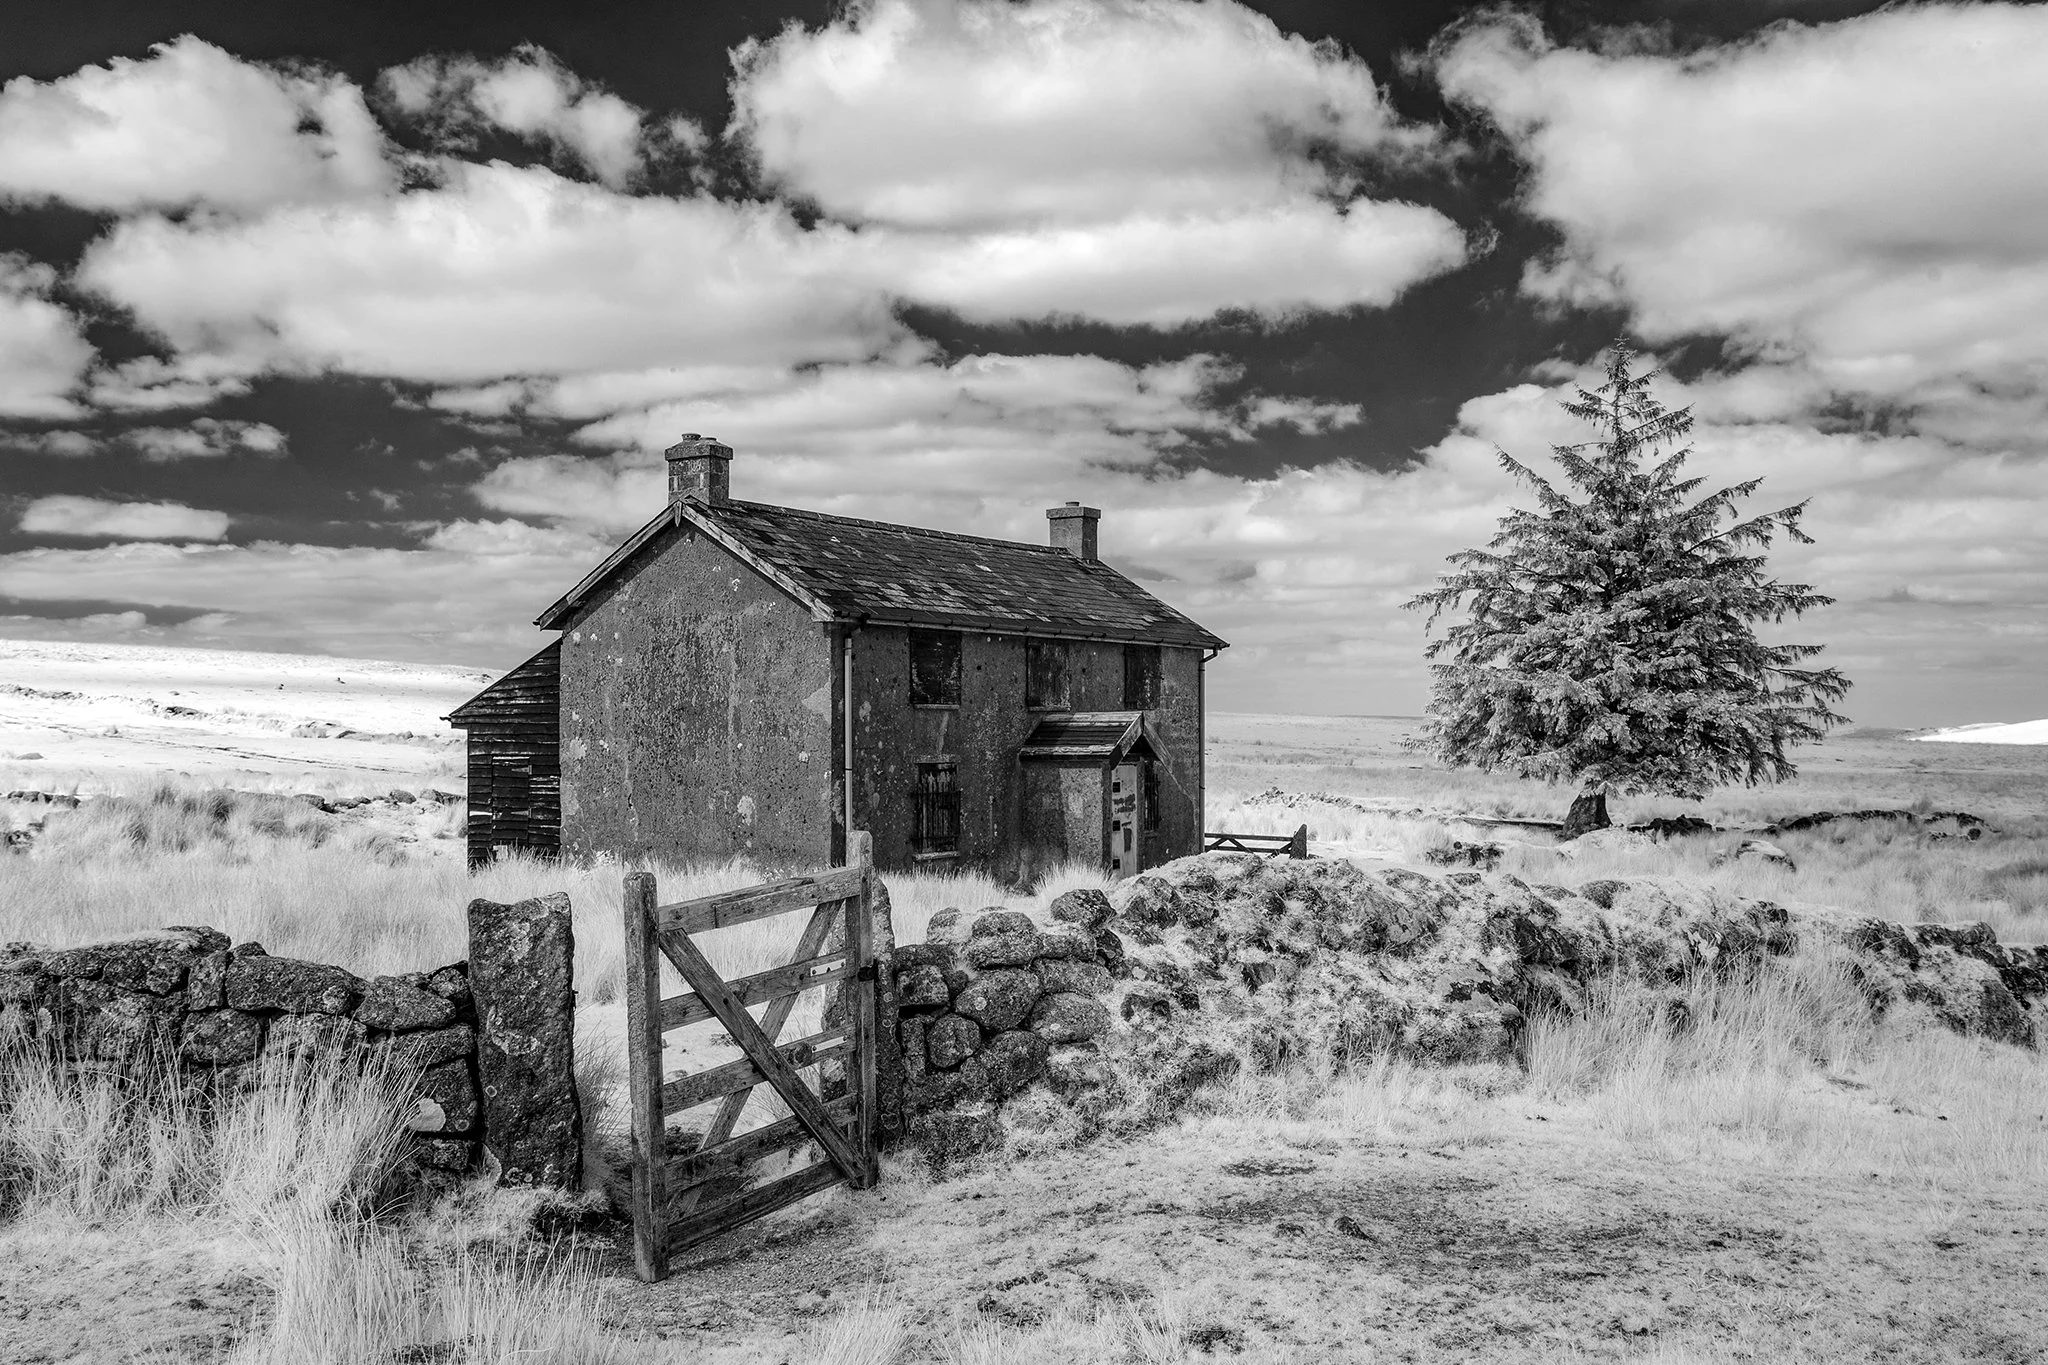
Brentor church
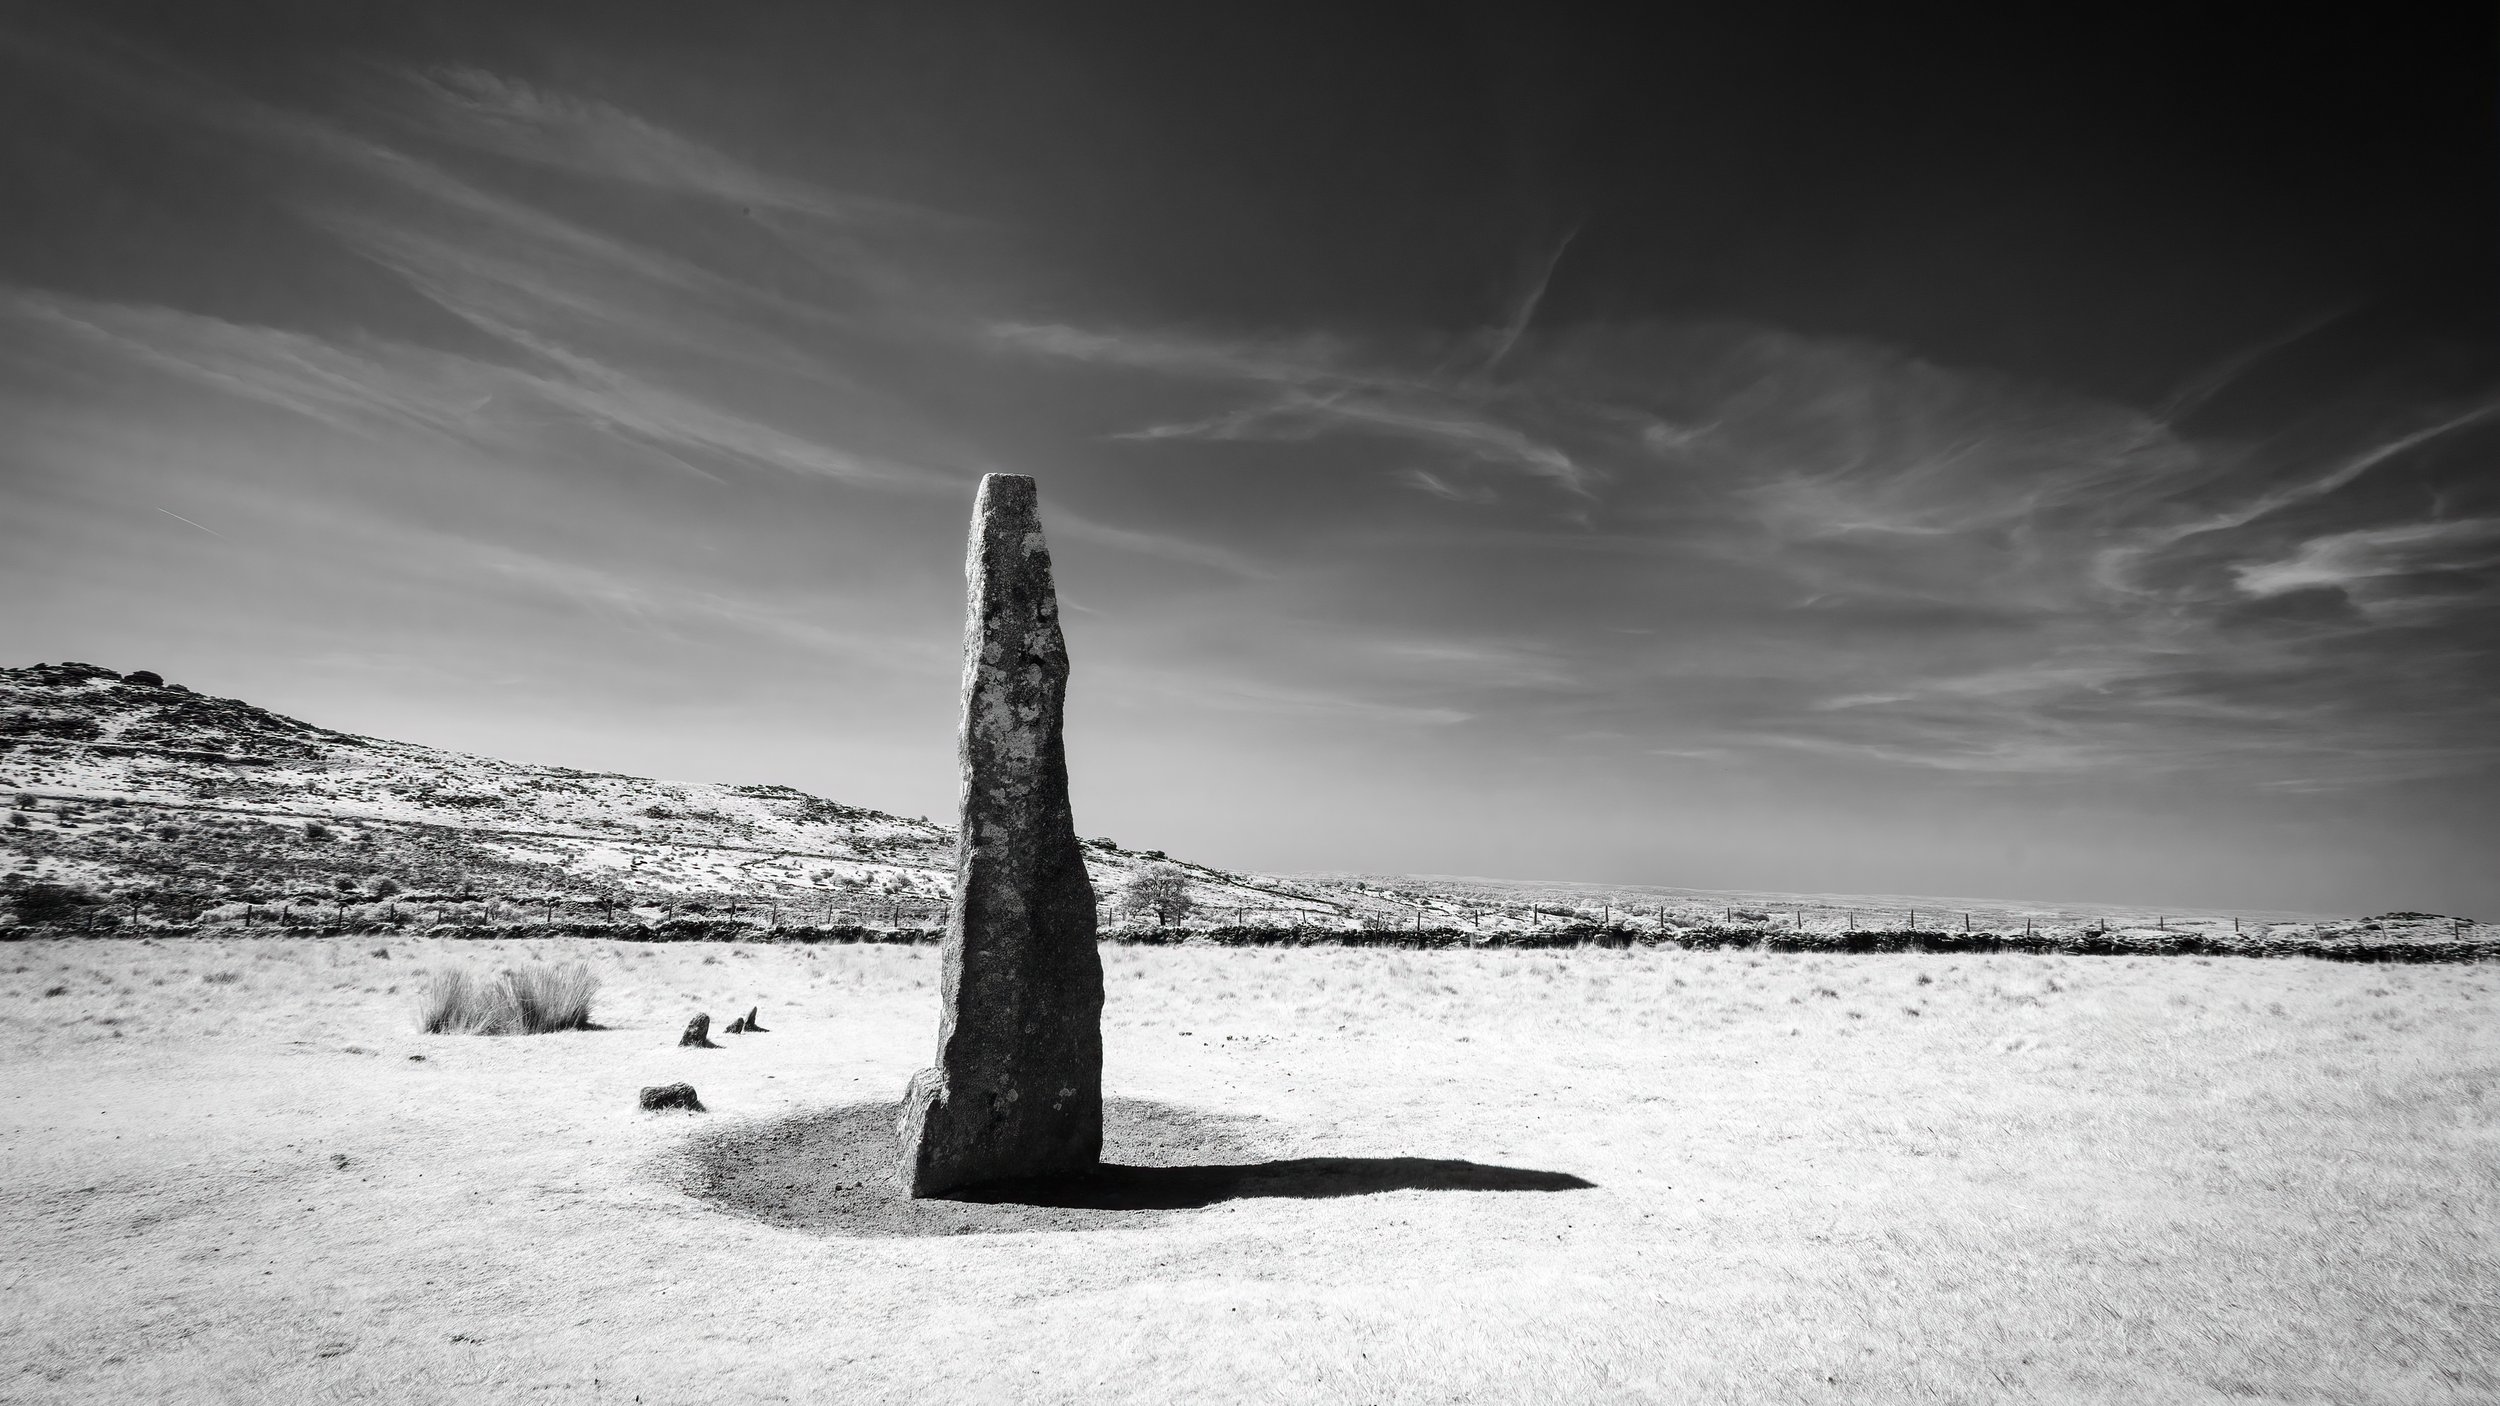
Single standing stone at Merrivale

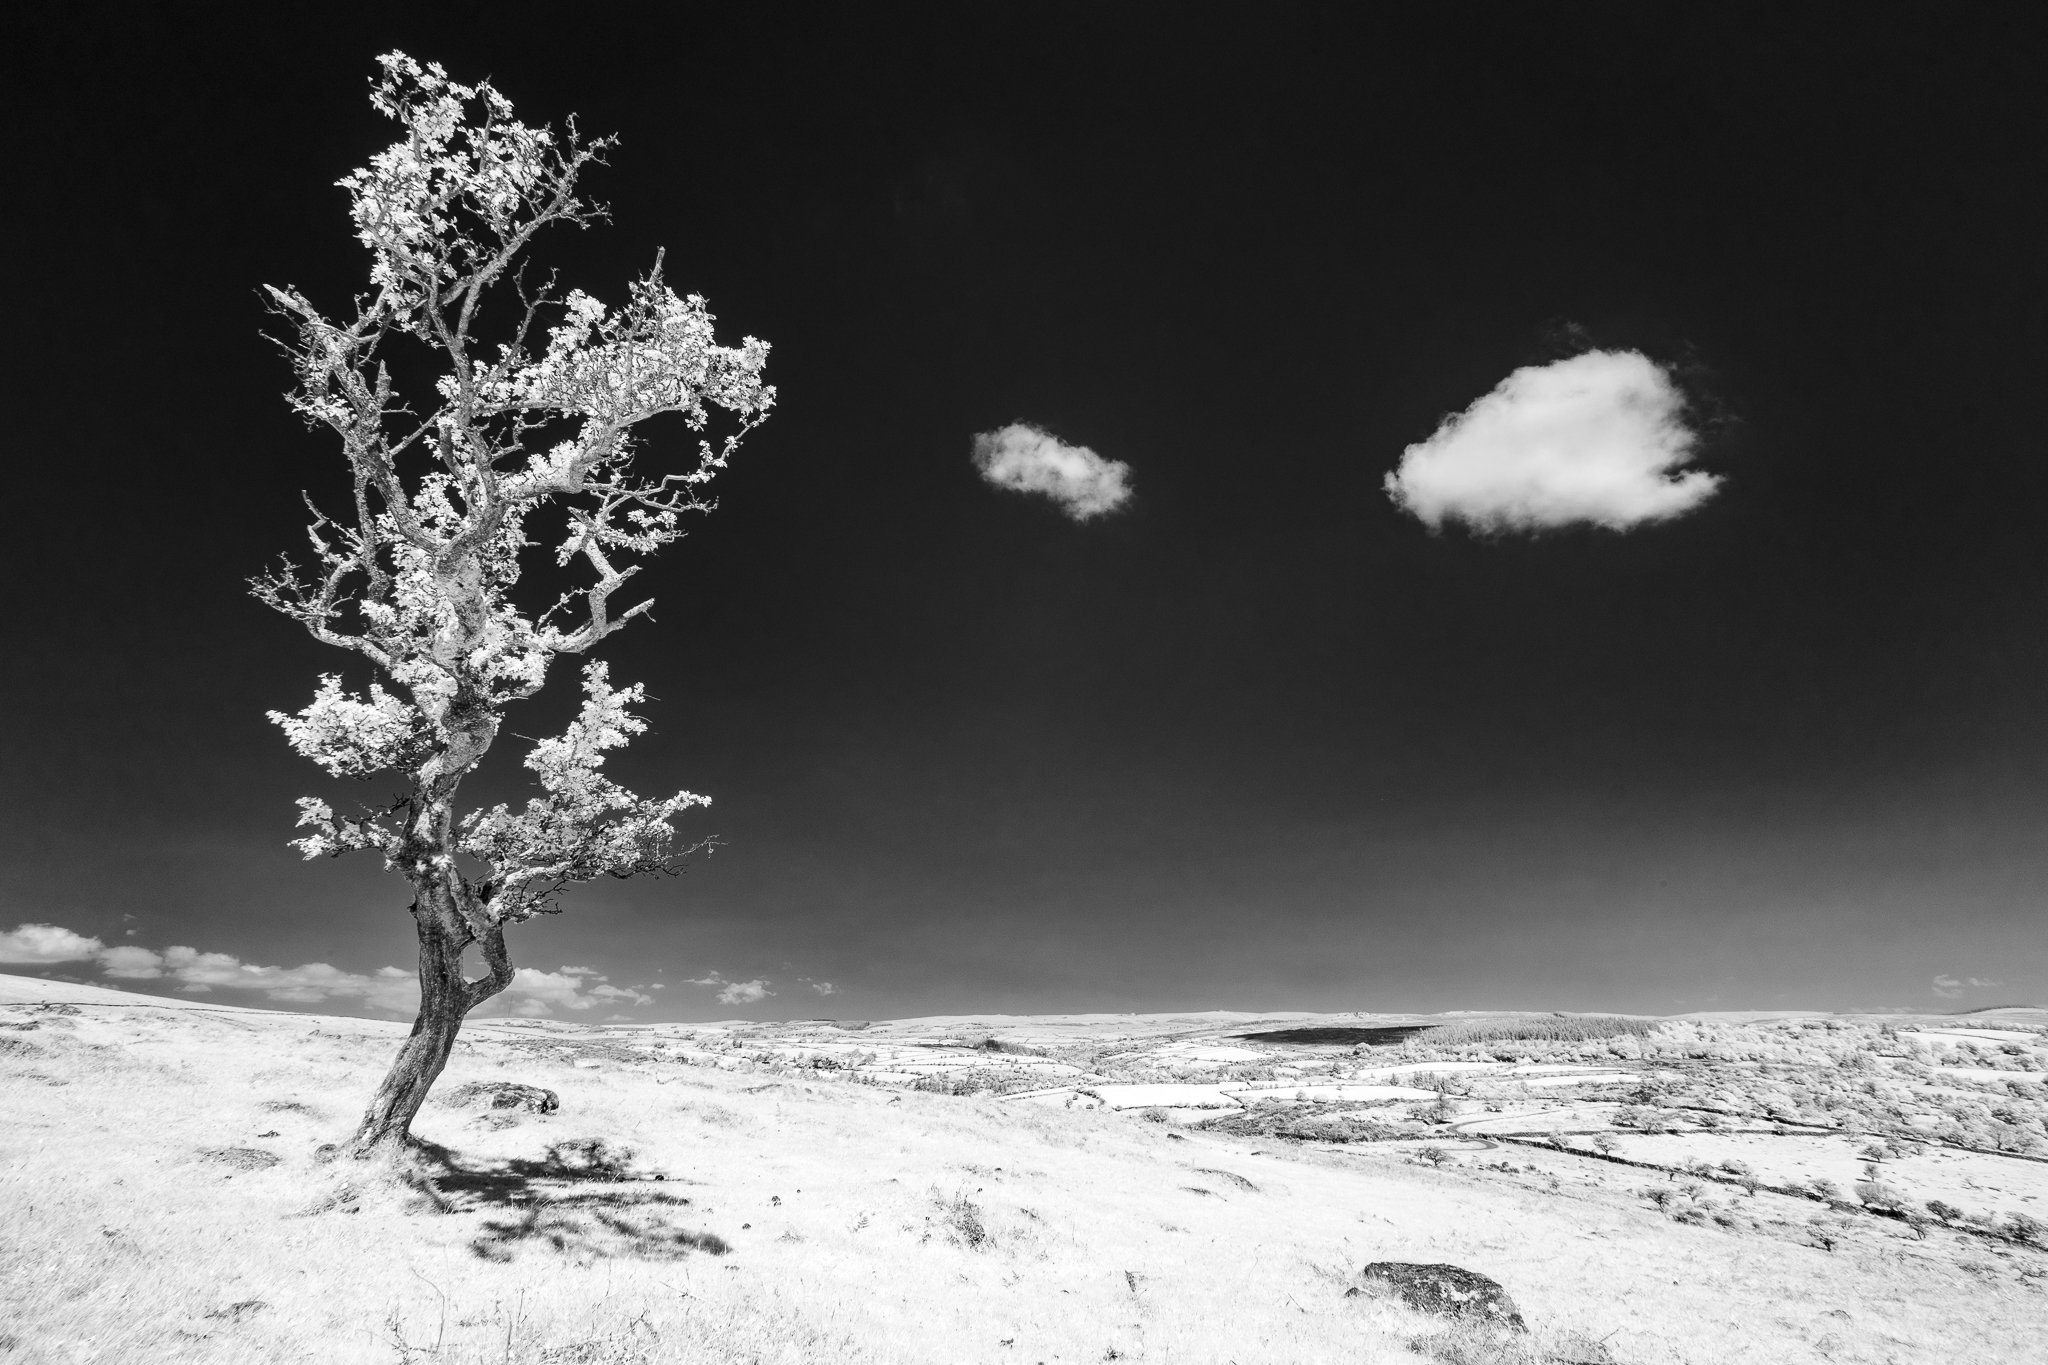
Tree hanging on, with view over the moor

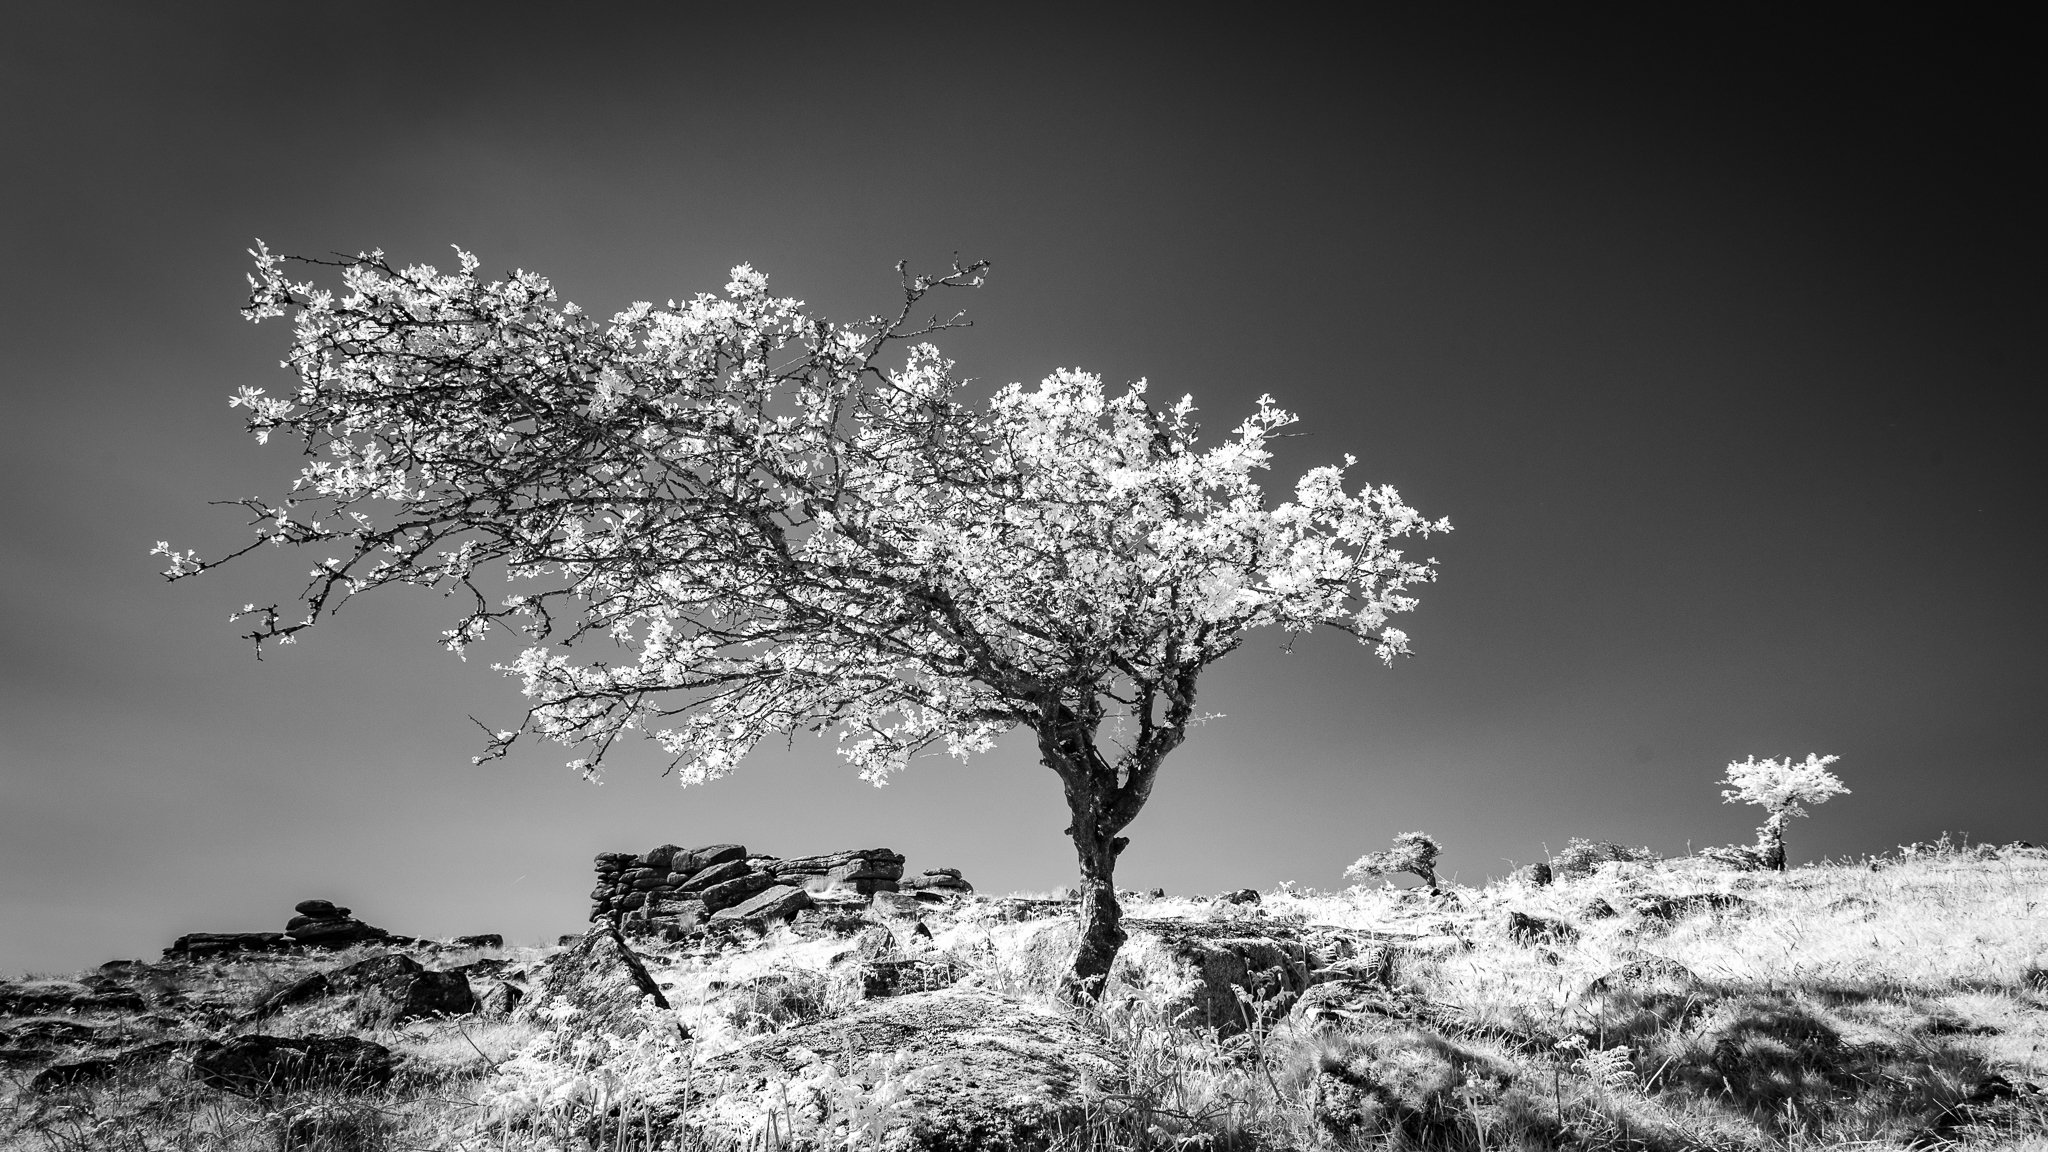
Bowerman’s Nose
Gallery of additional images
Click and browse to see full-size